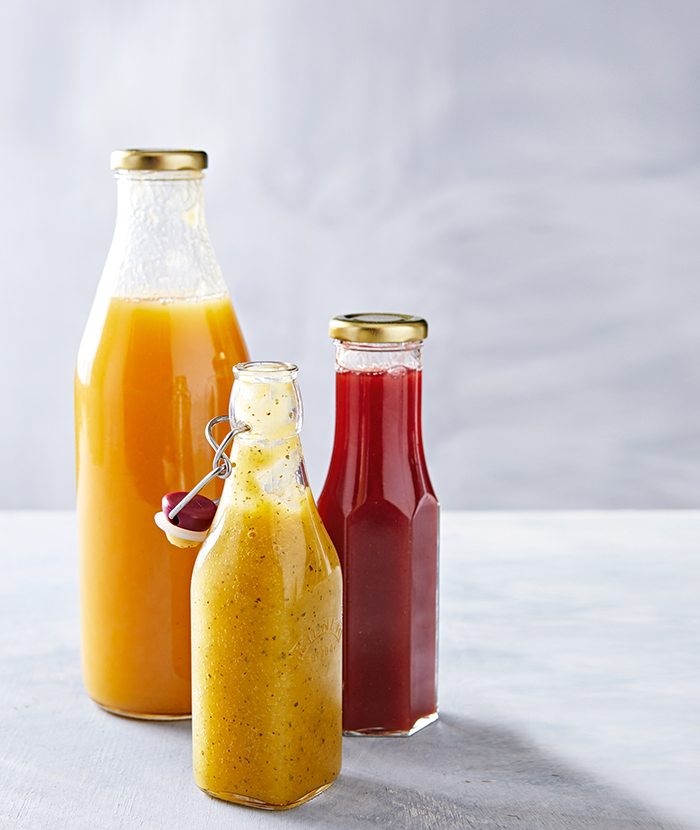
Don’t let sweet produce rot in your fruit bowl – use it to stock up your cocktail bar with the latest craze: good old-fashioned shrub, a delightful fruit syrup made from fruit, vinegar, herbs and spices.
Traditionally, shrub was a way to preserve fruit syrups with the addition of vinegar. Today they are a great way to avoid sugary cordials and soft drinks but still add fruit flavours to summer cocktails.
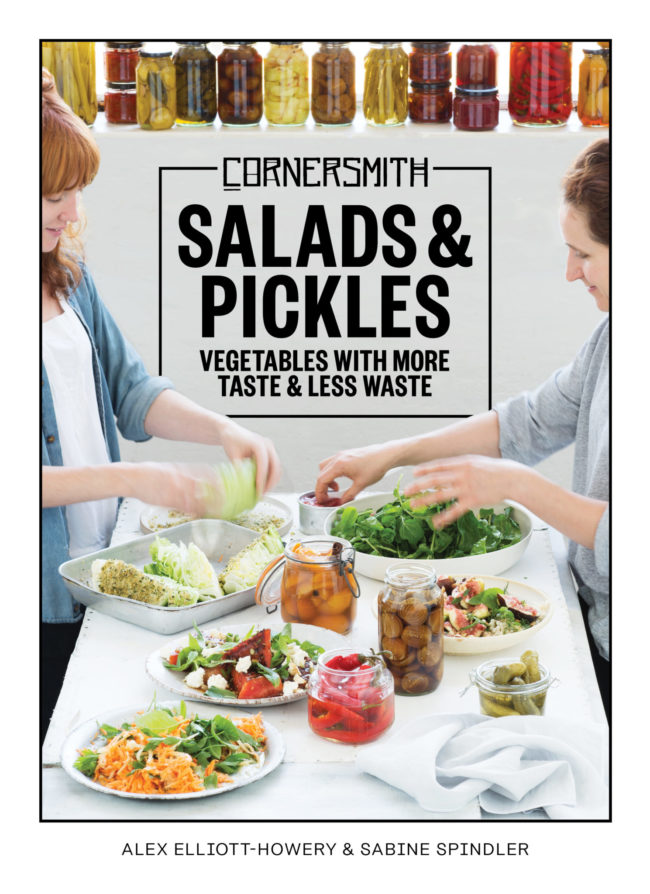
This is a great recipe for using up soft fruits that need to be eaten quickly. Then see below for how to keep your shrub on the shelf for up to two years with Cornersmith’s instructions for 30-minute heat processing (from an excerpt of the book Recipes from Cornersmith Salads and Pickles by Alex Elliott-Howery and Sabine Spindler, Murdoch Books, $39.99.)
Fruit Shrub
Makes 500ml
600g deseeded, trimmed fruit (good combinations include strawberry and fennel; pineapple and mint; or mango and lime)
¾ cup caster sugar
1 tbsp wholes spices or ¼ cup fresh herbs
½ cup water
¼ cup vinegar
Roughly chop fruit. Place in a large bowl and sprinkle with sugar and spices or herbs. Muddle or crush with hands, a potato masher or a stick blender.
Pour into a large saucepan over a very low heat. Stir to dissolve sugar. Add ½ cup water and keep stirring. Bring to a gentle simmer then remove from heat and set aside to cool to room temperature and for flavours to infuse.
Line a large colander with muslin and place over a large jug or saucepan. Pour in fruit mixture and press or squeeze through muslin to extract as much juice as possible. Discard solids. Add vinegar to the fruit liquid and mix well.
To sterilise glass bottles or jars, preheat oven to 110°C. Give bottles and lids a wash in hot soapy water and rinse, or put them through the dishwasher. Place bottles on a baking tray and put in the oven for 10 minutes or until completely dry. Allow lids to air dry.
Pour shrub into sterilised bottles and seal. Keep in the fridge for up to 2 weeks.
Heat processing
Also called ‘water bathing’ or ‘canning’, this process uses heat to stop the growth of bacteria. It generates pressure inside the preserving jar or bottle, which forces out any oxygen, creating an uninhabitable environment for micro-organisms. Treating your preserves in this way has two benefits: it lengthens their shelf life, and it ensures the jars or bottles are sealed correctly. Opinions differ on when heat-processing is necessary, but at Cornersmith we encourage our students to heat-process any cold-packed preserves, pickles and bottled fruit – as well as large batches of chutneys and jams that will be stored for some time.
Get the biggest pan you have, such as a stockpot – the taller, the better – and put it on the stovetop. Lay a folded tea towel in the bottom of the pan, then sit your jars on the tea towel, taking care not to cram them in, and keeping them clear of the sides of the pan. (All these measures are to stop the jars from wobbling around and cracking as the water boils.) Roughly match the water temperature to the temperature of the jars (to help prevent breakages from thermal shock), then pour in enough water to cover the jars, either completely or at least until three-quarters submerged. Bring to the boil over medium heat. The heat-processing times given in the recipes start from boiling point, and will generally be 10–15 minutes for jars or bottles up to 500 ml (17 fl oz/2 cup) capacity, or 20 minutes for larger capacities.
You might have one or two breakages when you’re starting out – the worst that can happen is that the remaining jars will swim in pickles for the rest of the processing time. Just keep going, then take the surviving jars out at the end and give them a wipe down. If they all break, you have our permission to have a gin and a lie-down!
Once the heat-processing time is up, the lids should be puffed up and convex. Carefully remove the hot jars from the water. If you’ve bought some clamps, now is the time to use them, or you can use oven mitts and a thick cloth to protect your hands.
Line your jars up on the benchtop and let them sit overnight. As they cool, a vacuum will form inside each jar and suck down the lid, sealing them securely. In the morning, the lids should be concave: either get down to eye level with the top of the jar to check for the telltale dip in the lid, or lay a pencil across each lid to show the cavity below it.
If you have concerns about the seal of any of your jars (sometimes a couple of jars fail to seal correctly), store them in the fridge and use their contents within a few weeks.
Recipe from Cornersmith Salads and Pickles by Alex Elliott-Howery and Sabine Spindler, photography by Alan Benson (Murdoch Books, $39.99)


