
Makes – 4 x 250g (9oz) pats of butter
Ingredients:
- 2.5 litres (4 pints) double cream
- 2 tbsp live natural yogurt
- 2 tbsp fine sea salt
Equipment:
- electric whisk
- sieve
- muslin or cheesecloth
- wooden butter bats or spatulas
Salted Butter Method
- Pour the cream into a clean, sterilized bowl. Add the live yogurt and stir. Leave at room temperature for 6–12 hours for the cream to ripen.
- Beat the ripened cream with an electric whisk for 4–5 minutes until it forms soft peaks (fig. a). Keep going until the cream gets stiffer and eventually turns pale yellow in colour and looks more like scrambled eggs.
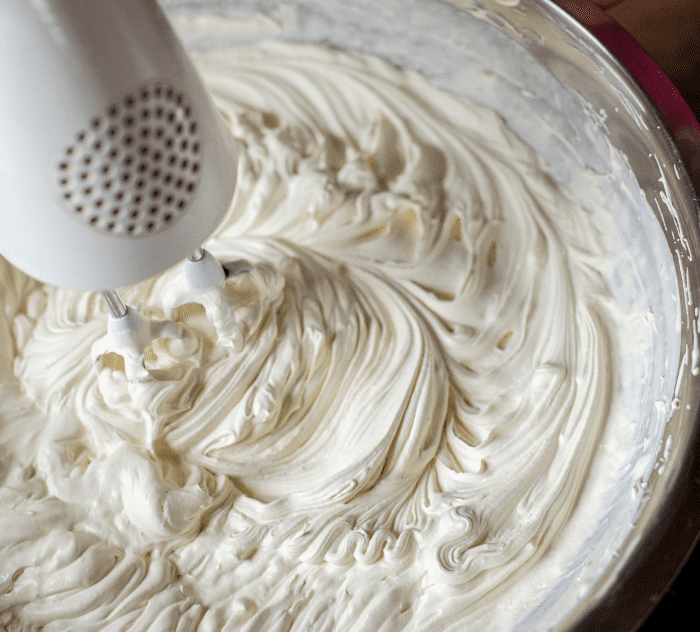
fig. a - After 2–3 minutes more, small globules of butter will form, surrounded by milk foam bubbles. Add 1 tablespoon of cold, clean water when the mixture looks like a firm mass of butter globules, and carry on whisking for 1 minute on a low speed. Strain the butter through a sieve lined with muslin or cheesecloth, then pour off the buttermilk and retain for use in other recipes.
- Next, squeeze the butter on a wooden board and press dry with a cold sheet of muslin or cheesecloth (fig. b). Rinse and ring out the cloth regularly until the water pressed from the butter runs clear rather than cloudy. Keep working until the butter is clean and dry.
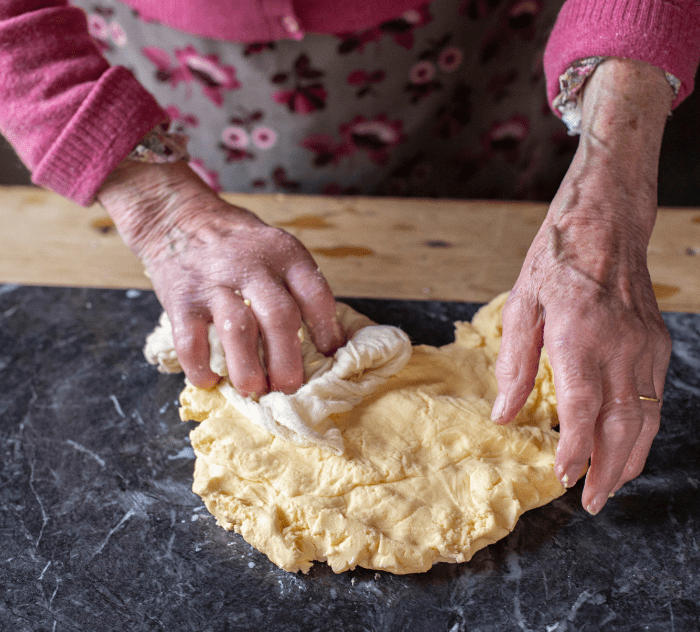
fig. b - Add the 2 tablespoons of salt to the butter (or at least 2 per cent of the butter’s weight in salt), sprinkling a little at a time from a height for good coverage (fig. c), then folding it in with your hands. This is primarily to preserve it for longer but will also add flavour. Fold the salt in thoroughly.
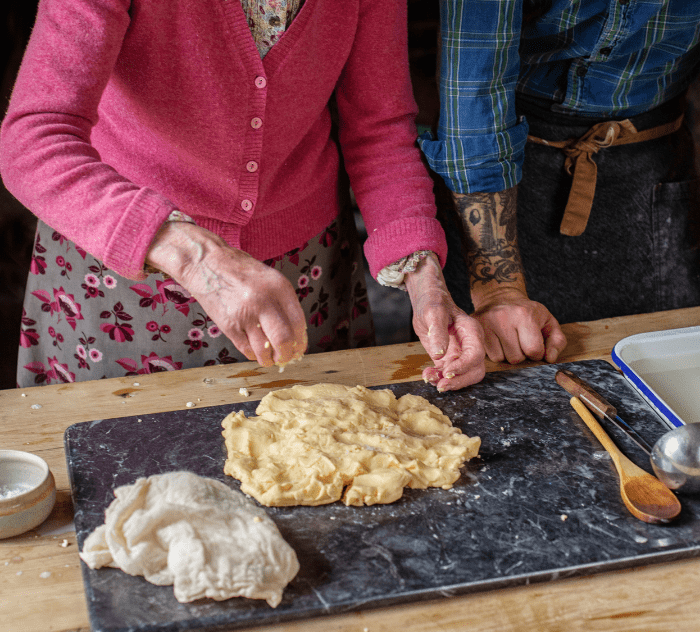
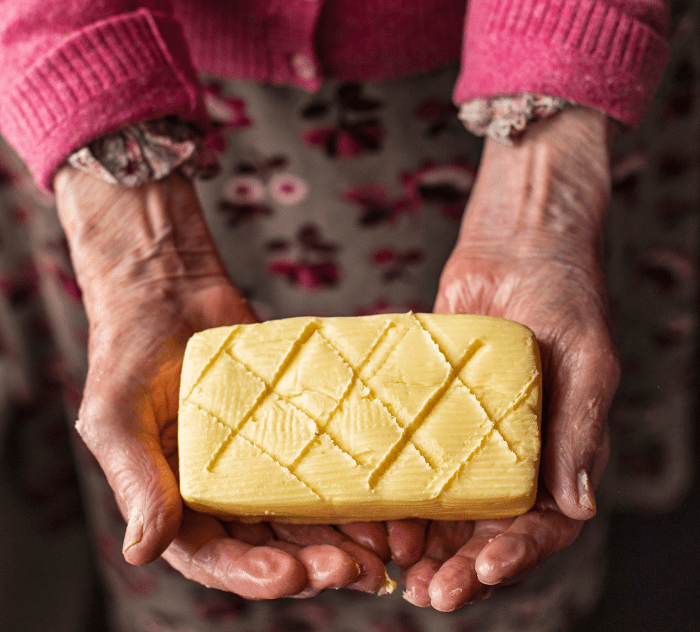
fig. c - Divide the mixture into 4 and use grooved butter bats or wooden spatulas to press into blocks (fig. d) – the bats need to be cold and wet, so dip them in icy water first. Push down firmly to drive out any air bubbles.
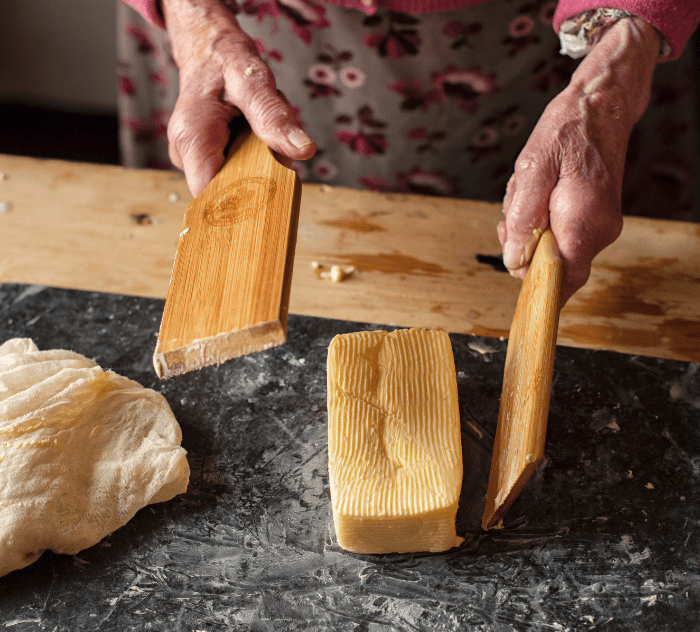
fig. d - Shape into 4 pats or rolls, or use moulds. Groove or stamp the surface to decorate and wrap in baking parchment. Alternatively, squash the butter into sterilized containers with lids. Butter can be frozen for up to 3 months and used straight from the freezer. If stored in the fridge, eat within 3 weeks.
Expert Tips:
- I use double cream for butter for the highest fat content possible; over 40 per cent is ideal. If the cream is at the right temperature – about 20°C (68°F) – the butter will “come” (the term for when it changes from cream to butter) in a matter of minutes. Too cold and you will be churning for longer and the butter will be harder to work with.
- If using a butter mould, ram the butter in hard to push out any air bubbles. If you buy or make your own butter stamp for decoration, remember to dip it in cold water before pressing to stop it sticking
Recipes extracted from The Artisan Kitchen by James Strawbridge, Published by DK Books, RRP $49.99 AUD/ $55 NZD