
Makes – 1 sourdough loaf
Ingredients:
- 150g (5½oz) active sourdough starter – recipe here
- 250g (9oz) warm water
- 25g (scant 1oz) olive oil
- 500g (1lb 2oz) organic strong white bread flour
- 10g (¼oz) fine sea salt
- 50g (1¾oz) sprouted seeds – I use a mix of green and brown lentils, adzuki beans, sunflower seeds, mung beans, and chickpeas (optional)
- 2 tbsp linseeds or milled bran flakes
Equipment:
- dough scraper (optional)
- bread lame, razor, or serrated knife
- banneton (proving basket)
Seeded Sourdough Method
- Whisk the starter, water, and olive oil in a large bowl. Add the flour and salt, then squish everything together with your hands (fig. a) or a dough scraper until all of the flour is absorbed. Knead on a floured surface for 10–15 minutes until smooth and springy.
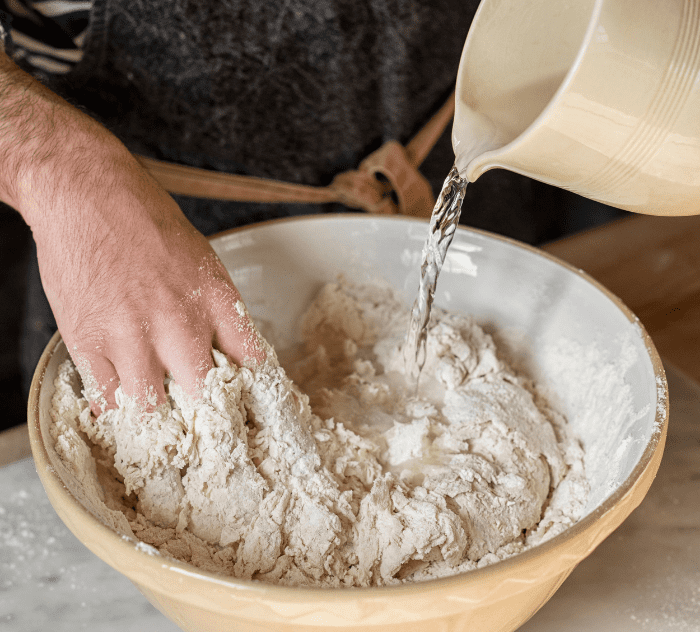
fig. a - Form the dough into a rough ball and transfer to a bowl. Cover and leave to prove at 20–27°C (68–81°F) for a fast rise or overnight at 15–20°C (59–68°F). Do not allow the temperature to fall below 9°C (48°F) or fermentation will cease. Your dough is ready when it no longer looks dense and has almost doubled in size. This can take anywhere from 6 to 12 hours, depending on temperature and the potency of your starter.
- Turn out the dough onto a floured surface, flatten, and then, starting at the top, fold the edge towards the centre (fig. b). Give the dough a slight turn, then fold over the next section. Repeat until you have come full circle. Incorporate your sprouted seeds at this stage if using, working them into the dough until evenly distributed. Flip the dough and place it seam-side down, then gently cup the sides and rotate it with a gentle downward pressure. Repeat this process until the dough is smooth in shape and appearance (fig. c).
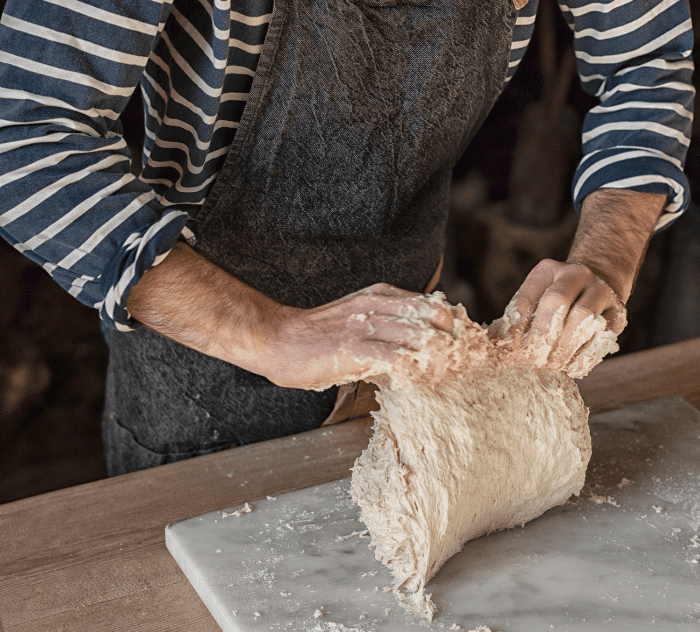
fig. b 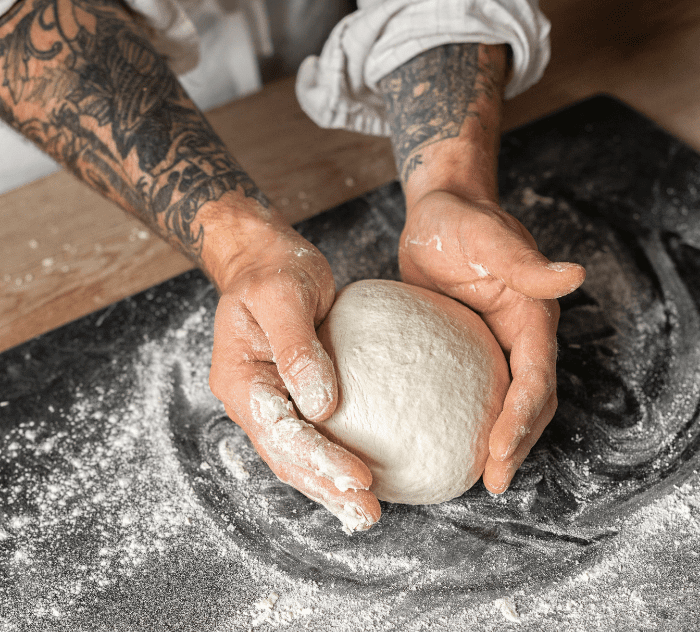
fig. c - Add the linseeds or milled bran flakes to the bottom of a floured banneton so that they stick to the loaf as it proves. Place the dough in the banneton, cover, and leave for a second, shorter rise of about 1–2 hours at 20–27°C (68–81°F), until the dough is a little puffy.
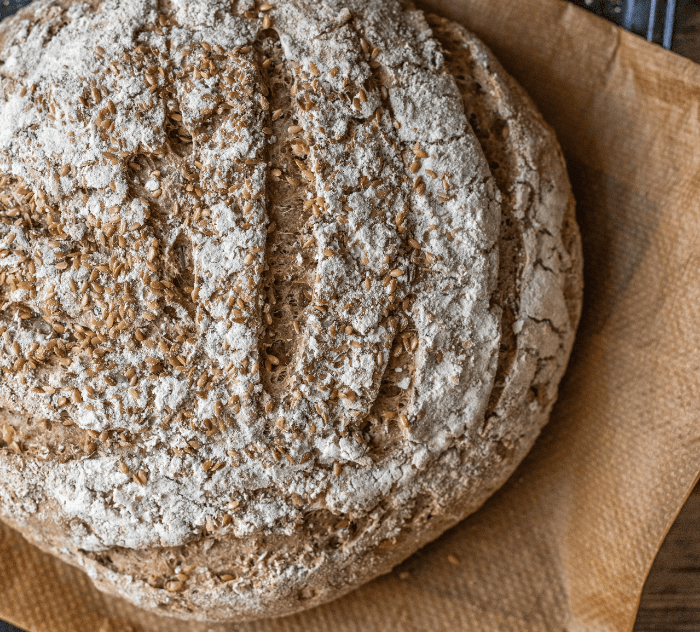
- Preheat the oven to 200°C (400°F/Gas 6). Just before your bread goes into the oven, use a bread lame, razor, or serrated knife to make a few shallow slashes, about 10cm (4in) long, in the surface of the dough (fig. d).
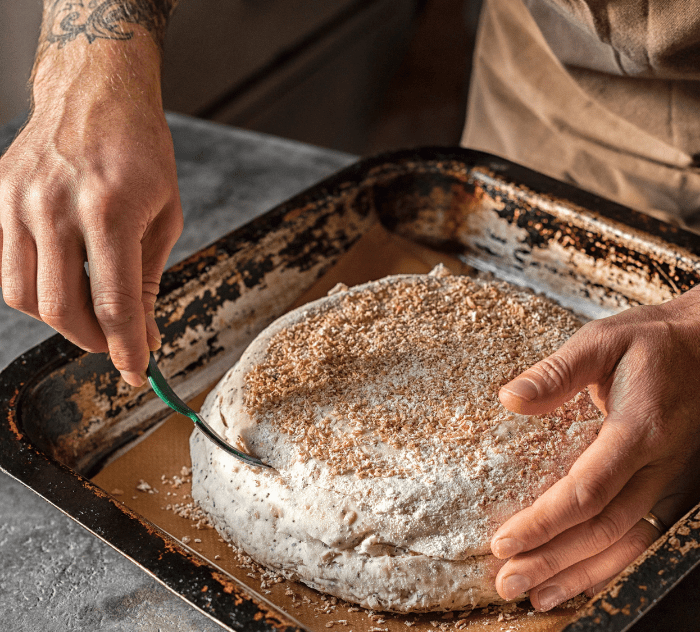
fig. d - Bake for 40 minutes. During the last 10 minutes, crack open the oven door momentarily. This allows moisture to escape, leaving your bread with a crisp crust.
Expert Tips:
- Scoring or slashing the top of your dough quickly before it bakes controls the final shape of the loaf, preventing the crust from tearing or popping in odd places. It’s also a baker’s signature, so be experimental and have fun coming up with your own unique patterns.
- Try using 100 per cent rye flour for a second mother culture. Once you have mastered the white flour recipe, it’s nice to experiment with a second sourdough starter that has a nuttier flavour.
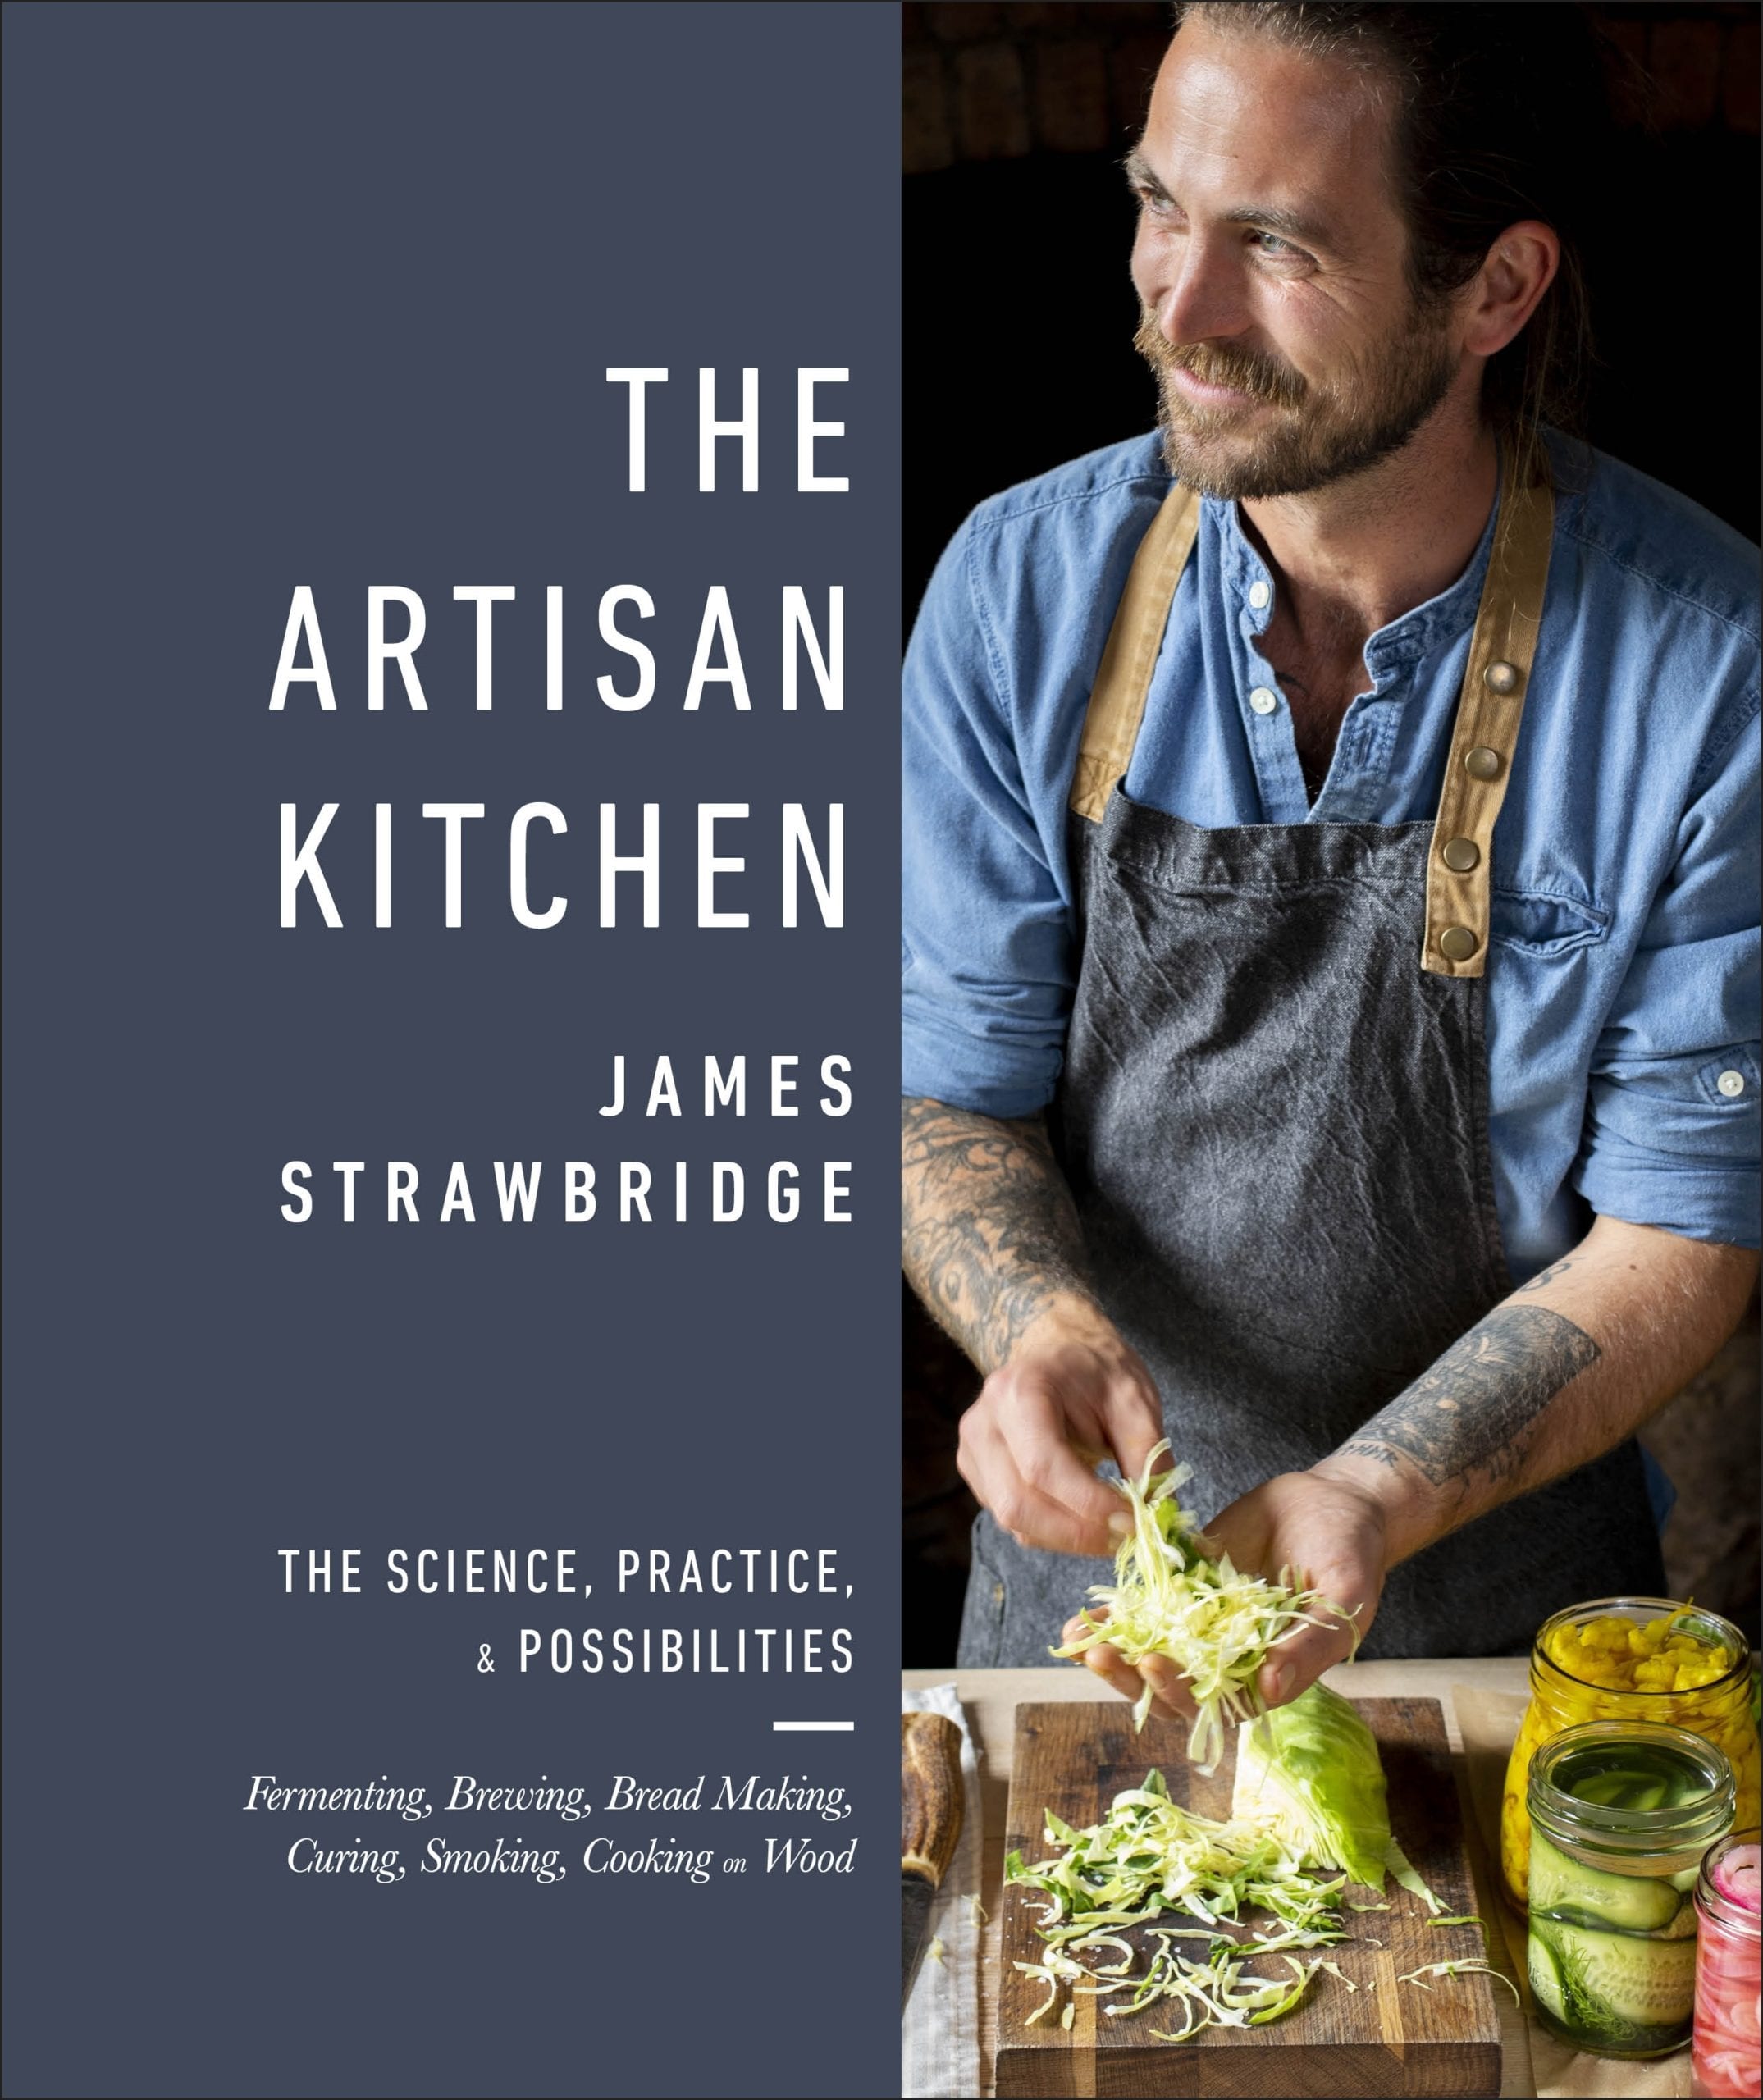
Recipes extracted from The Artisan Kitchen by James Strawbridge, Published by DK Books, RRP $49.99 AUD/ $55 NZD