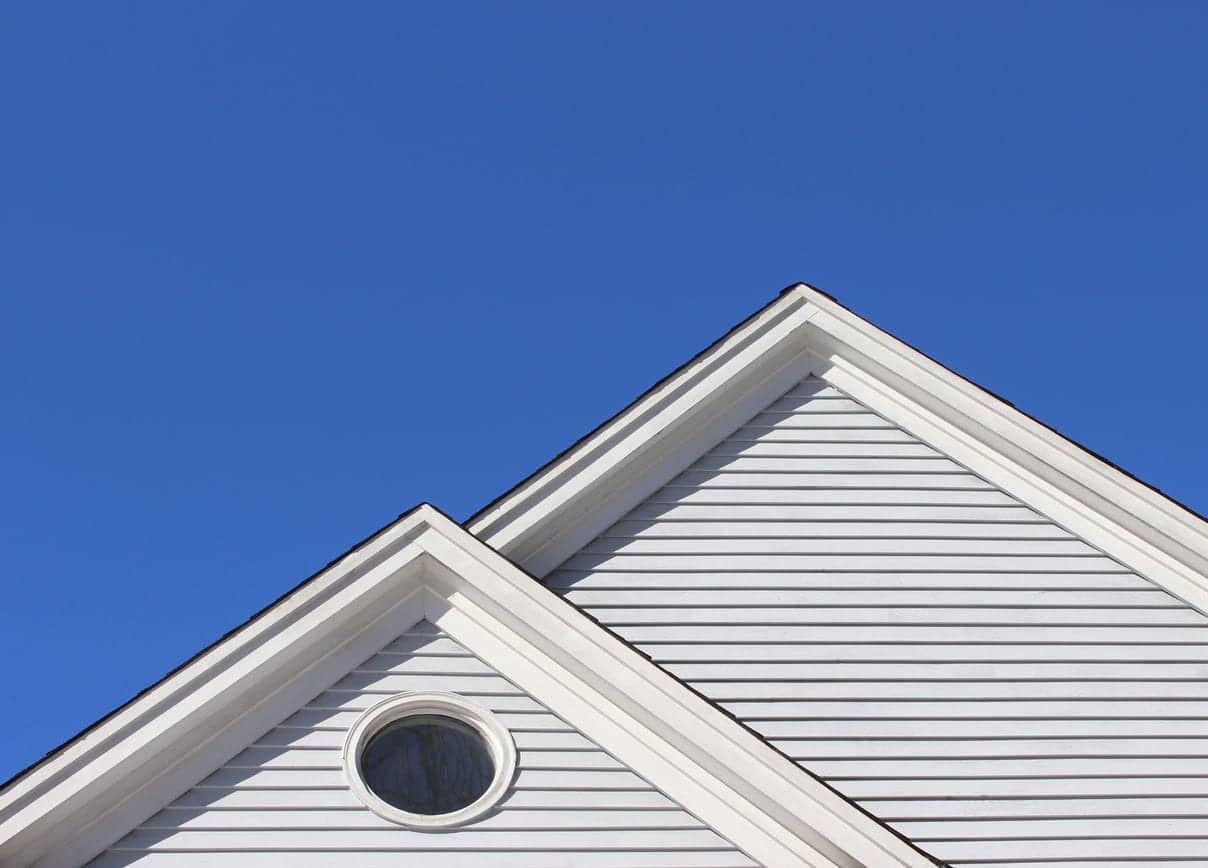
Being stuck in lockdown is the perfect time to get outside and tackle your DIY weatherboard project.
If you don’t have all the paint you need to do your project, consider what prep you will need to do and see if you can make a start on that. This might include cutting back plants, removing decorative items and generally tidying up around your home so that all areas are accessible when it comes to prep and painting.
Follow these tips to take on your painting project with ease.
1. Choose the right paint
Select a paint that has been specially formulated to help protect against the sun’s UV rays, rain and humidity and is proven to defend against the changing and seasonal demands of unforgiving climates.
The most popular paints for weatherboards are usually low sheen or semi-gloss, but you can use gloss if you prefer. The lower the sheen, the more the paint will hide surface imperfections.
The more gloss, the more the paint will reflect in the sun and the brighter and cleaner the colour will look. For a low sheen finish, use Resene Lumbersider. For a semi-gloss finish, use Resene Sonyx 101 waterborne semi-gloss. For a high gloss finish, use Resene Hi-Glo waterborne gloss.
2. Prep your surface
It’s best to avoid water-blasting weatherboards as this can damage the timber and push water up into the boards.
Instead clean already painted weatherboards with Resene Paint Prep and Housewash. If your weatherboards are stained, use Resene Timber and Deck Wash to clean the surface before restaining.
When repainting older weatherboards, sand off any old paint, dirt, grit or other impurities by hand to guarantee a smooth surface every time.
Many paints are self-priming and can be applied direct to most surfaces. If you are working with a dark timber, a specific primer may be required. Resene Quick Dry Primer is perfect for spot priming. Make sure to check the back of the product label for a full list of undercoat requirements.
3. Use a separate paint pot
Avoid painting directly out of the main paint container as this will transfer any contaminants from the surface into your paint.
Instead pour enough paint for the painting session you are doing into a small paint pot and paint from there. By keeping the paint you are painting from separate to the main paint, you will keep your paint in better condition. This is especially important if you are planning to store some for touch-ups later.
4. Tackle the wall in sections
Before you start applying the first coat of paint, it’s important to have the right brush on hand. Use a good quality brush to cut in from the bottom of each board, making sure to reach into every overlap, before continuing with even brush strokes.
Rather than paint one long, horizontal board at a time, divide your wall into sections using the natural breaks in the weatherboards (such as corners, windows or doors) to minimise movement as you complete the project.
Working this way will ensure that you avoid vertical join marks between sections and give you even finish as the paint dries.
5. Work top to bottom
Begin painting from the top of the wall, and paint three boards at a time, ensuring you start from a corner and work towards the opposite side.
Starting this process from top down will ensure you don’t dirty any fresh coats in the lower sections by working directly above them.
6. Watch the weather
Where possible paint out of direct sunshine and wind. Both of these can make your paint dry faster making it harder to apply. Instead work on the shady side of the house and move around the house as the sun moves.
It goes without saying you can’t paint outside in the rain. However if there is a chance of a light shower, you can add Resene Umbrella Additive to your paint. This helps the paint resist any light shower that may come through during the dry time.
7. Wrap your brush when you have a break
To save unnecessary rinsing, wrap your brush in clingwrap when you are having a break, or overnight to keep the paint or stain fresh. Then remove the clingwrap when you are ready to start painting again.
5. Allow time to dry between coats
Two hours of drying time is usually all you need to leave you with an even finish every time! Check the tin for the recommended number of coats required for that colour, as darker colours may require further coats.
If you need help with your painting project, or advice on colours or products for a project you’re planning, ask a Resene Expert free:
Ask a Resene Technical Expert at resene.co.nz/techexpert or Ask a Resene Colour Expert at resene.co.nz/colourexpert.


